How to Put Together a NUVO Stereo Kit in Blumlein
Get together the various parts of the NUVO stereo kit which includes:
- AES SMS stereo bar
- Vibration damping foam insert
- Posi-Lok adjustable angle adaptor
- Two 3/8-16 (EU) cap screws and 3/18-16 to 5/8-27 male threaded studs
- Blumlein coupler
- 5/8-27 female to 3/8-16 (EU) stand adaptor
https://www.giphy.com/gifs/TFerRZlo174yi8R4QE
1. Insert one of the 3/8-16 cap screws through one of the end holes from the inside of the SMS and fasten a 3/18-16 to 5/8-27 threaded stud to the opposite (top) side.
https://www.giphy.com/gifs/dJa1VkLFqUQXk4OB7H
2. Repeat with the other stud at the other end of the SMS. Then attach one shockmount to each of these mic studs, align them so that the microphones will be parallel to the bar, and tighten all parts so that they won’t move out of position.
https://www.giphy.com/gifs/LwH79acp4gAaxwIwkH
3. Insert one microphone into each of the shockmounts and use the Blumlein coupler to hold them together. Rotate one 45-degrees to the right of center and the other 45-degrees to left of center.
https://www.giphy.com/gifs/5hkGaxXzygIY6IOZ31
https://www.giphy.com/gifs/uWckUt4cS3Mr958HyY
https://www.giphy.com/gifs/1zgfDf8UT91qfLvuBE
4. Insert the vibration damping foam insert. If needed, use the Posi-Lok adjustable angle adaptor to allow adjusting the angle of the entire array.
https://www.giphy.com/gifs/1ZtqUCr0rMQIbPfjuK
https://www.giphy.com/gifs/3d3vHUMVB9Fubfher4
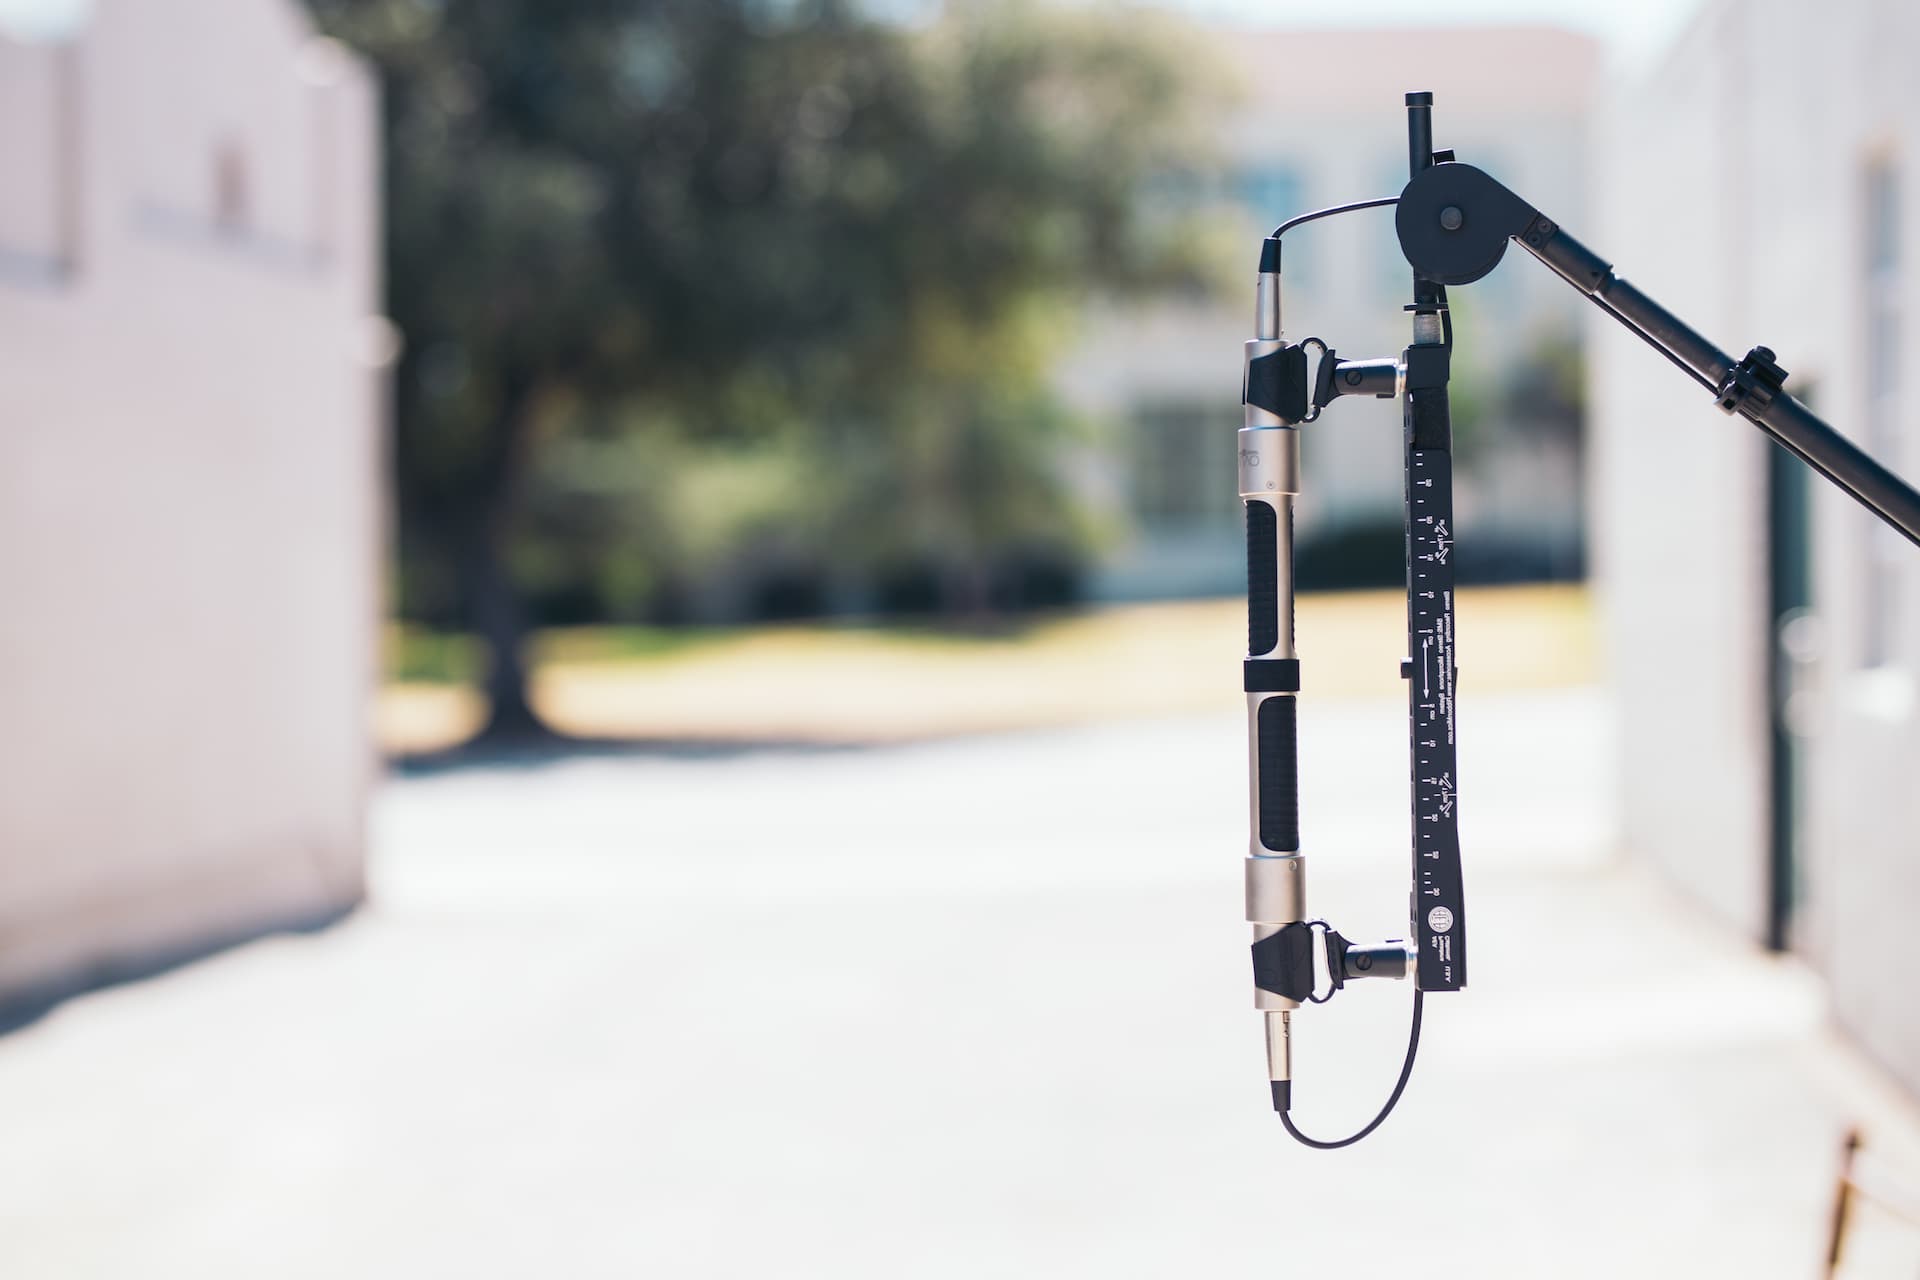
5. Inspect your finished Nuvo stereo coupler.
https://www.giphy.com/gifs/WgP9jCowclhCUQJESz
For more information, you can download the manual here.